Top 10 OBS Settings for Crystal Clear Streams
When it comes to streaming, having the right settings in OBS (Open Broadcaster Software) can make all the difference between a mediocre broadcast and a crystal clear stream. Here are the Top 10 OBS Settings to ensure your viewers enjoy a polished viewing experience:
- Resolution: Set your base and output resolution to 1920x1080 for HD quality.
- Bitrate: For 1080p streaming, aim for a bitrate of 4500 - 6000 Kbps on platforms like Twitch.
- Frame Rate: Stick to 60 FPS for a smoother experience, especially for fast-paced gaming.
- Encoder: Use hardware encoder (NVENC) for better performance.
- Keyframe Interval: Set to 2 seconds, as required by most streaming platforms.
- Audio Bitrate: Keep it at 160 Kbps for clear sound quality.
- Scene Transitions: Choose smooth transitions to keep viewers engaged.
- Scaling: Use a bicubic scaling filter for better image quality when resizing.
- Output Mode: Switch to advanced mode for more control over your stream settings.
- Test Your Settings: Always run test streams to fine-tune your setup before going live.
By optimizing these OBS settings, you can significantly enhance the clarity and reliability of your streams. It's essential to find a balance between quality and performance, especially if you have limited bandwidth or computing power. Remember, every streamer’s setup is different, so don't hesitate to experiment with these settings to find what works best for you. With the right configurations, your streams will not only look great but also run smoothly, keeping your audience coming back for more!
How to Set Up Multi-Scene Streaming in OBS: A Step-by-Step Guide
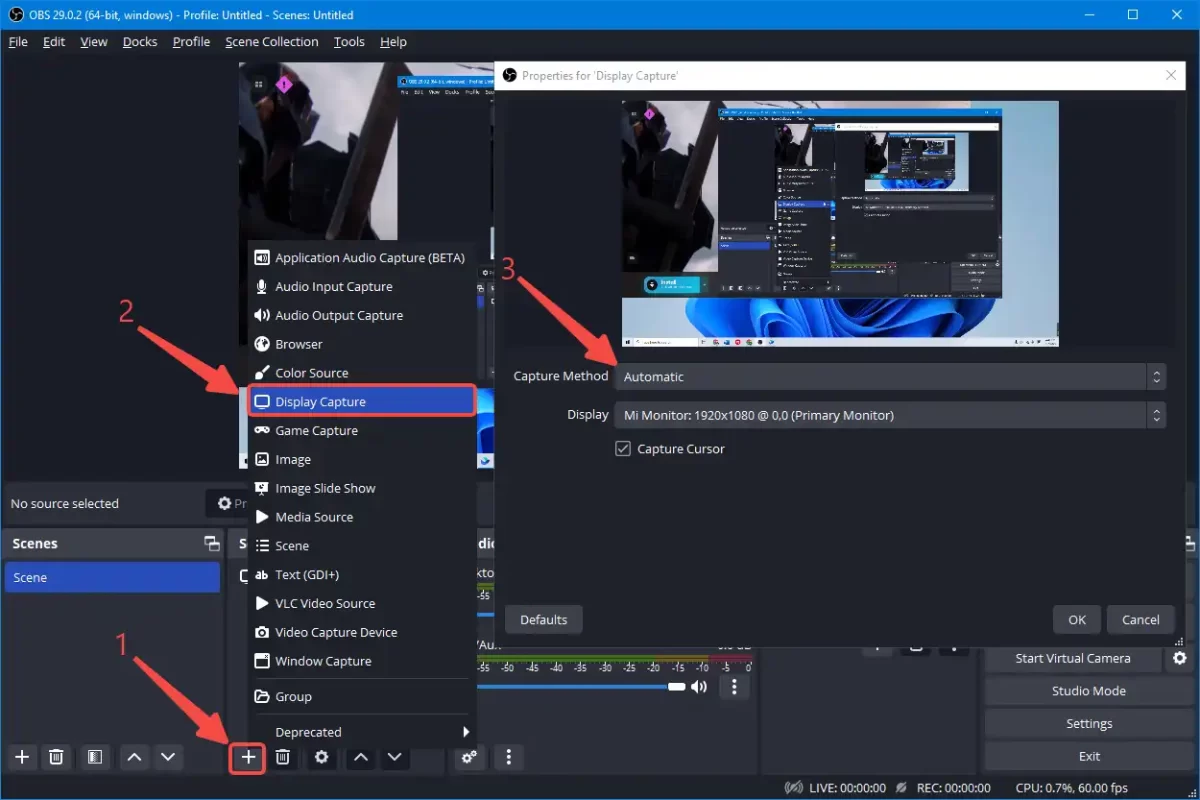
Setting up multi-scene streaming in OBS (Open Broadcaster Software) enhances your streaming experience by allowing you to switch between different scenes seamlessly. To get started, ensure you have OBS installed on your computer. Launch the application, and begin by creating multiple scenes by clicking the '+' button in the 'Scenes' panel. You can name each scene based on the content you plan to display, like 'Gameplay', 'Chat', or 'Intermission'.
Once your scenes are set up, you can add various sources—such as video capture devices, images, or text—to each scene. Click the '+' button in the 'Sources' panel to select the source type, then configure it according to your needs. To switch between scenes during your stream, you can either use the mouse or set up hotkeys for a more efficient workflow. Remember, practicing the transitions before going live is crucial to create a polished and professional look for your multi-scene streaming.
Common OBS Mistakes Every Gamer Should Avoid
When it comes to using OBS (Open Broadcaster Software) for streaming or recording, one of the common OBS mistakes gamers often make is neglecting to configure their settings properly. This includes not adjusting the bitrate, resolution, and frame rate to match their internet connection and hardware capabilities. For example, a high bitrate can lead to choppy streams if your upload speed can't keep up. To avoid this mistake, always test your setup with OBS’s built-in tools or through a short stream before going live. Consider using a lower resolution or bitrate to ensure stability and clarity in your broadcasts.
Another frequent error is disregarding the importance of audio settings. Gamers often overlook audio mixing, leading to situations where game sounds overpower a commentator's voice or background noise interferes with the stream. To improve your stream quality, pay attention to the levels in the audio mixer tab and utilize filters to eliminate noise. Additionally, test your audio setup with friends or during private streams to get feedback before your main event. Avoiding these common OBS mistakes can significantly enhance your streaming experience and keep your audience engaged.